Install Veeam Backup and Replication v10
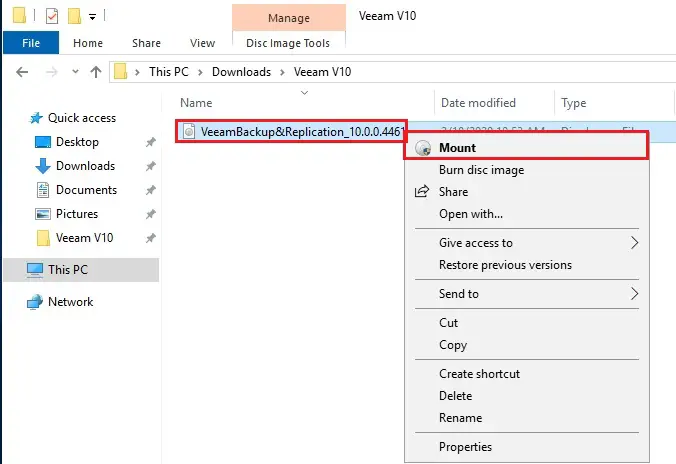
1- Go to your download folder right click on VeeamBackup&Replication_10.0.0.446 ISO image and then select Mount.
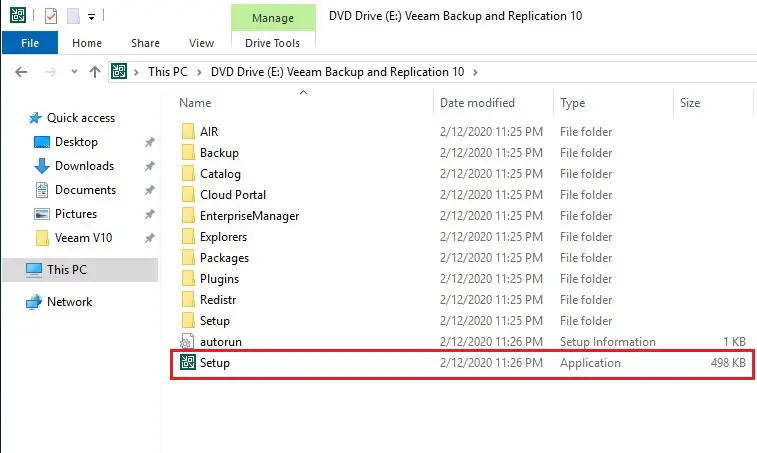
2- So, double click on the setup file to begin the installation.
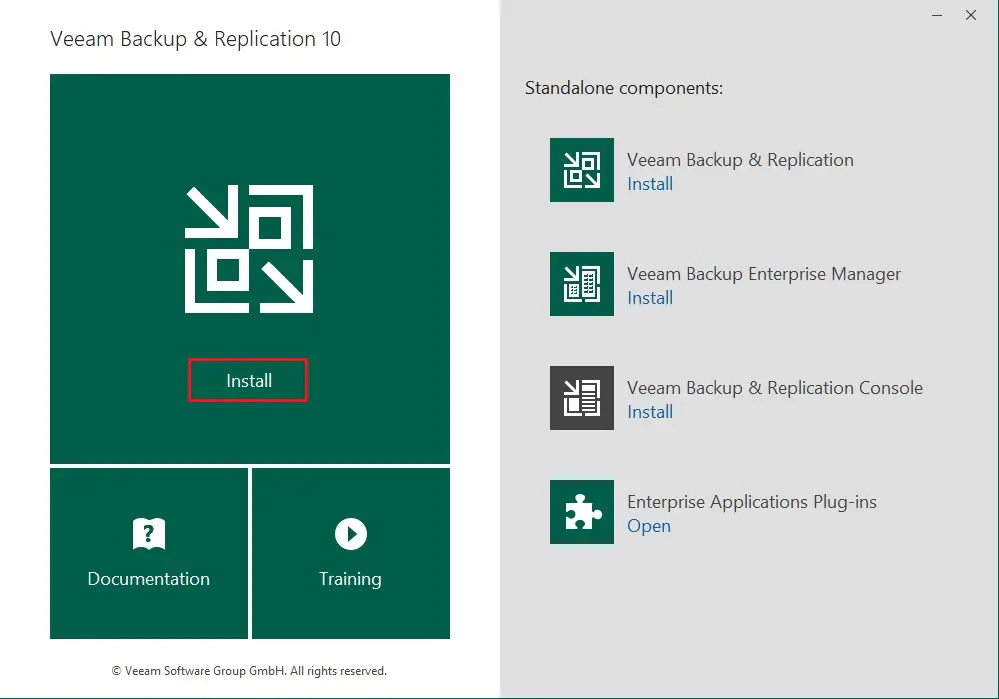
3- Veeam console, so Click on Install.
4- Default settings Initializing Veeam.
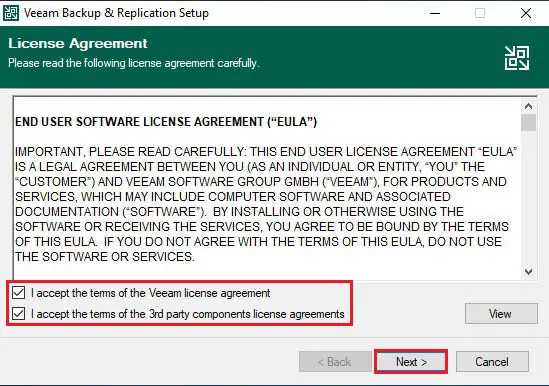
5- Select I Accept the terms of the Veeam License Agreement, I accept the terms of the 3rd party components License Agreement and then click on Next.
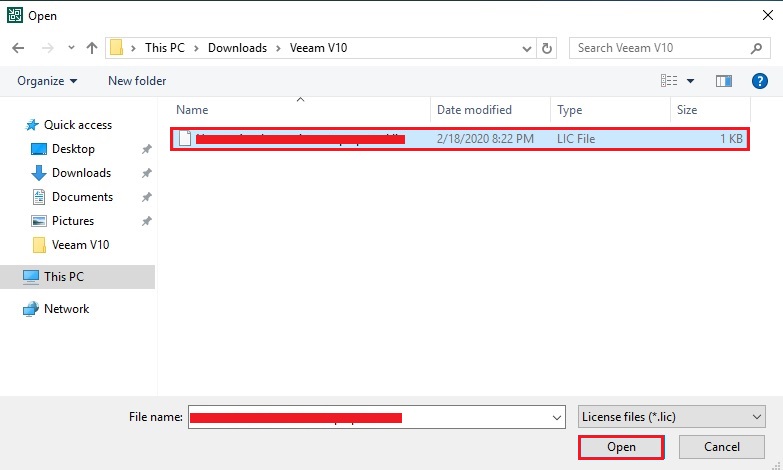
6- Select the Browse button.

7- Select a Veeam license file and then click open.
Veeam License
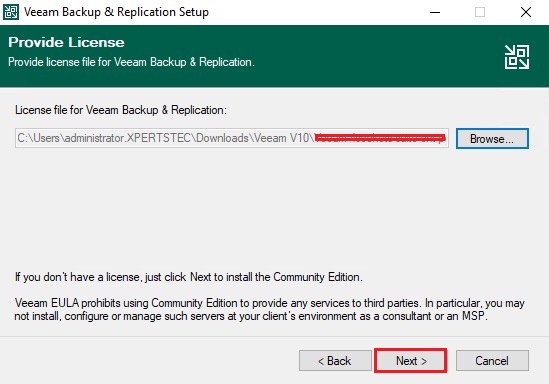
8- After selecting the Veeam License file so, click on next.
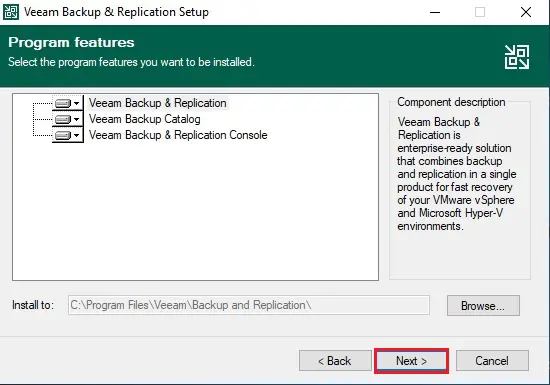
9- Select a directory where you want to install the Veeam features and then click next.
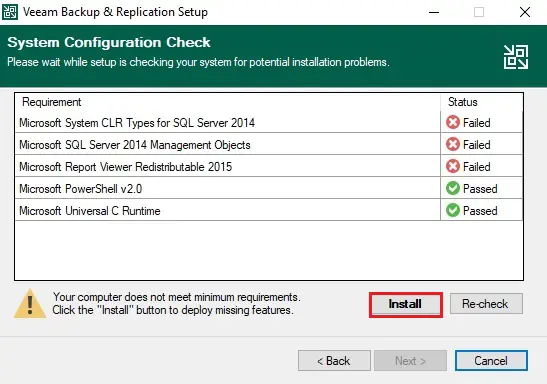
10- Here are some requirements for installing and configuration of the Veeam. So, click on install to complete the requirement.
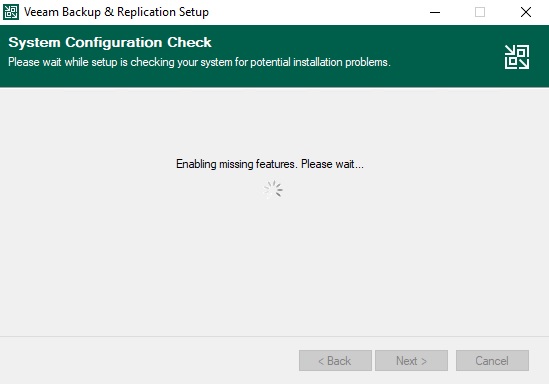
11- So, It will take a few minutes to enable the missing Veeam features.
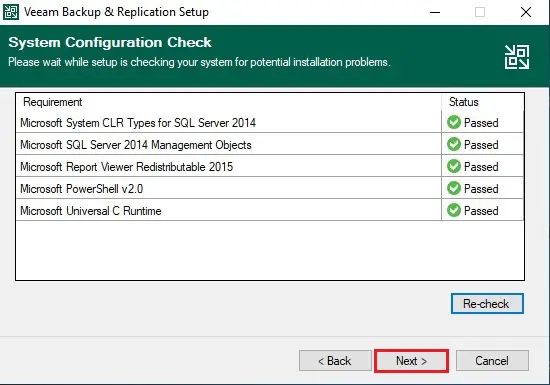
12- The status shows passed the requirement so, click on next.
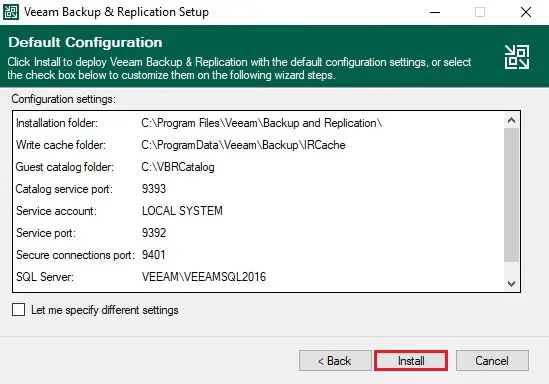
13- Click the Install button to deploy Veeam Backup & Replication with the default configuration settings. or you can select the checkbox Let me specify different settings and then click on Install to start the Veeam installation.
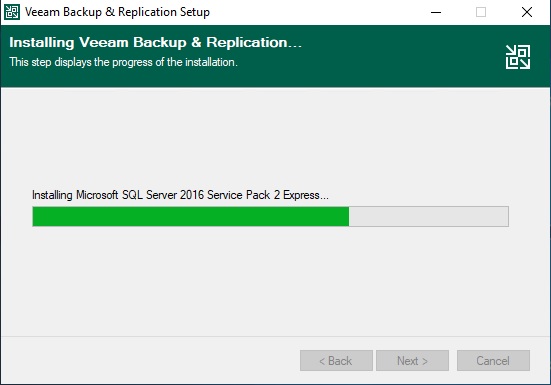
14- The installation will start, it will take a few minutes to complete the process and it will install SQL Server 2016 SP2.
Veeam Backup & Replication Server, Catalog and Console, and then all the components.
Installing SQL Server 2016 SP 2 Express.
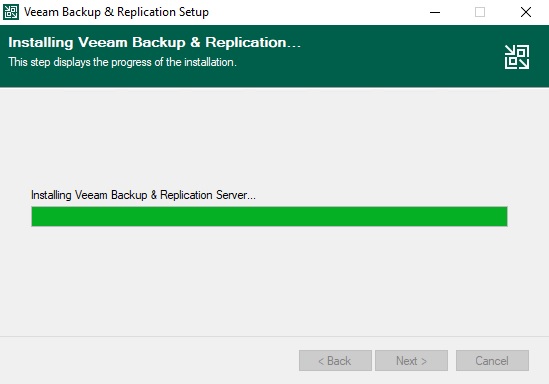
15- Installing the Veeam Backup & Replication Server.
16- Starting services.

17- Veeam Backup & Replication v10 installation completed and then click finish.

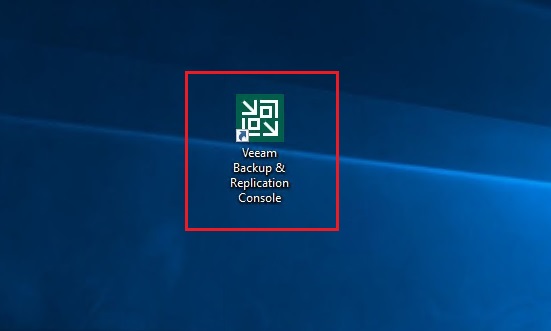
18- So, double click Veeam shortcut to open Veeam Backup & Replication Console.
19- Click the Connect button to open the Veeam Backup & Replication Console.
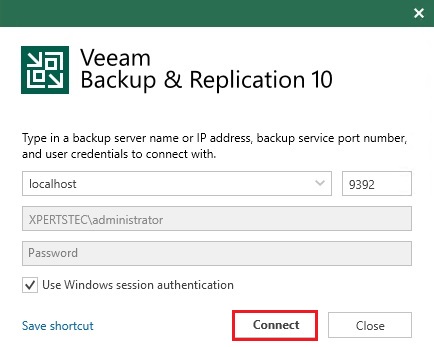
20- Veeam Backup & Replication v10 Console.

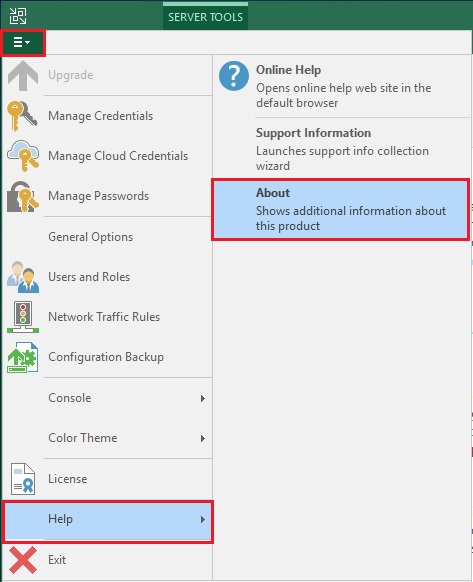
21- Select the Veeam menu and select Help and then click About.